
Kefir, a fermented probiotic milk beverage, can be made in the comfort of one’s home. But anything fermented can take some time and requires a bit of patience. One time-saving option that comes up is using the Instant Pot to make kefir. Does it work?
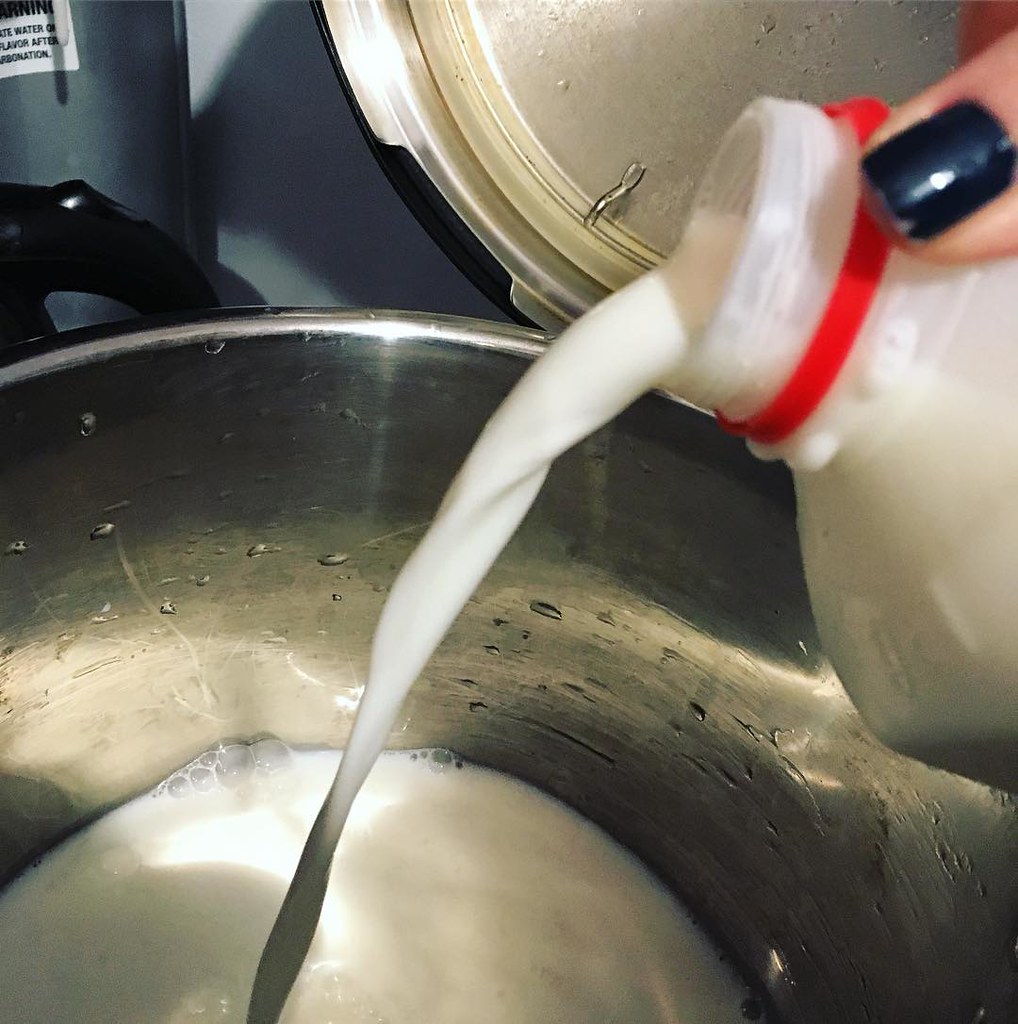
Kefir can be made in an Instant Pot using the “Yogurt” setting. It is not necessary to use the Instant Pot to make kefir, and it’s not the favored method. Kefir cultures at 65-85 degrees Fahrenheit, so room temperature is just right. Using the heat of an instant pot is unnecessary and may even kill the kefir grains and cause the kefir to separate.
Read on to learn more about kefir as well as how it’s made. We’ll also discuss why the Instant Pot is not an ideal way to make kefir and discuss some of the recipes that recommend making kefir with an Instant Pot. Soon, you can be enjoying all the benefits that kefir has to offer.
What is Kefir?
Kefir is a fermented milk beverage that is rich in:
- phosphorous
- magnesium
- riboflavin
- B12
- calcium
- protein
Colonies of good bacteria are added to milk, typically in the form of kefir grains or activated kefir starter and eat the lactose (milk sugar). This then allows the good bacteria to rapidly multiply, or culture.
The dominance of good bacteria prevents the development of harmful bacteria; in fact, this was one of the ways milk was preserved before refrigeration.
Kefir boasts a plethora of health benefits. Regular consumption of kefir may bring about the following:
- Relief from acid reflux and constipation
- Reduction or elimination of allergies
- Reduction or elimination of asthma symptoms
- Reduction of cold and flu illnesses
- Treatment of acne
- Treatment of yeast infections
- Replenishment of good bacterial to the body after antibiotic use
- Aid in lactose intolerance
- Healing of ulcers
- Benefits from its antibacterial properties
(Source: Culturedfoodlife; Vitagene; Healthline)
Can You Make Kefir In An Instant Pot?
Though there are sources on the internet that claim to have made kefir with an instant pot, most sources on kefir indicate that an Instant Pot should not be used to make kefir. This is for a few reasons.
Heat is Bad For Kefir Grains
Kefir’s ideal functioning range is between 65 and 82-degrees Fahrenheit. Anything higher than 86-degrees Fahrenheit and the kefir will separate into curds and whey. Also, the kefir grains may die if they are exposed to heat for too long.
The lowest temperature for an Instant Pot is on the “Less” mode of the “Yogurt Maker” function, with a range of 86 to 93-degrees Fahrenheit, which is too hot for kefir.
(Source: Traditionalcookingschool; Yemoos; Greenschemetv; Vitacost; Instantpot)
It Doesn’t Save Any Time
The basic recipe for kefir is:
- Add kefir grains (the mother culture/starter) to a container
- Add milk to the container
- Cover with cloth held on by rubber band
- Let sit at room temperature for 12 – 24 hours
- Strain.
We’ll go into more details about the recipe later, but essentially that’s it.
One kefir Instant Pot recipe cooks for 15 hours. The instructions are simple:
- Add two (2) 5-gram packages of kefir starter (they use Yogourmet freeze-dried kefir starter) into the Instant Pot’s inner pot.
- Add 64 ounces of unsweetened soy milk.
- Cook on yogurt setting for 15 hours with the vent open to prevent moisture buildup.
As we’ll discuss in a bit, this recipe does not follow the instructions of the starter used. One possible reason that this recipe “works” is that the cultures aren’t activated correctly. There are some cultures present, and this author might just be making yogurt. This, however, is only conjecture based upon knowledge of the correct instructions and how kefir works.
Another recipe also claims to make kefir with unsweetened coconut milk; however, the “vegan culture starter” they recommend is a yogurt starter, not kefir starter. This recipe cooks for 8 hours.
This distinction that this recipe uses yogurt starter is pretty important: yogurt is not kefir. Where yogurt typically has 4 to 10 strains of bacteria, kefir can have upwards of 20-50 strains of bacteria and yeast.
An Exception, Kind of
While you should not use an Instant Pot to make kefir, you can use one to prepare your milk if you are using kefir starter rather than kefir grains.
The Yogourmet freeze-dried kefir starter instructs one to:
- Bring one liter of milk to a boil and then allow it to cool down to 73-77 degrees Fahrenheit.
- Dissolve 5g of starter in a small amount of lukewarm water before adding to the liter of milk.
- Allow the mixture to sit in an airtight container at room temperature for approximately 24 hours or until firm
- Refrigerate for 8 hours or more to stop the fermentation process
- Stir to liquefy before enjoying.
The Instant Pot can definitely be used to bring the milk to a boil. But after that, the process is very much the same as using kefir grains.
(Source: Yogourmet; Spoonuniversity)
How to Make Kefir the Traditional Way
Ingredients:
- Kefir grains – These cannot be grown from scratch but must be acquired. However, once acquired, they will multiply during the culture process.
- Milk – Your milk of choice
Begin with Kefir Grains
The more kefir grains you use for a given amount of milk, the faster the milk will ferment. But keep in mind, the fermentation process involves living organisms, and one kefir grain isn’t guaranteed to ferment as fast as another. For this reason, start small and get to know your grains. Eventually, the grains will condition themselves to be able to ferment more milk.
Place one teaspoon of active kefir grains in a glass jar. For those using the metric system, let’s call it 5 mL.
Do not use a metal container to make or store kefir. Stainless steel is generally believed to be safe, but reactive metals such as aluminum, brass, iron, or copper will oxidize when exposed to the acids in kefir.
Keep it simple and use glass.
Add Milk
Add a pint of milk to the jar. That is two cups or just over 473 mL, depending on your preferred unit of measure.
What Kind of Milk?
Any dairy milk will do (cow or goat). High-fat milk is considered to be better. Reduced-fat milk and coconut milk will work, but after a while, the kefir grains can lose their vitality and will take longer to ferment the milk.
If you find your kefir grains are sluggish, ferment a batch or two of whole-fat animal milk to revive them.
Cover
Using cheesecloth, a clean napkin, or even a paper towel, cover the jar and secure it with a rubber band.
Do not screw a lid on as fermentation will cause pressure in the jar; in extreme cases, the jar could burst.
Let the Kefir Sit
Keep an eye on your kefir, but at this stage, you don’t have to do much other than letting it sit at room temperature for 12 to 48 hours. Kefir will ferment faster in warmer rooms, and you might just have very potent kefir grains.
If you want to slow down the fermentation process, you can place your kefir in the refrigerator. This can make the process take about a week.
A few signs that your kefir is ready for the next step:
- Air bubbles
- Little pockets
- A sour, tangy taste
- Thicker consistency
Strain
The longer you let your kefir sit with the grains, the more tart it will be. Don’t let it sit too long, or the culture could starve.
Place a strainer over the container you plan to store your kefir in (remember, no metal). Pour the kefir into the container, using the strainer to withhold the kefir grains.
You can even continue the process and make cheese from kefir.
Enjoy and Repeat if You Like
That’s it. It sits at room temperature, and you strain it.
You now have kefir that you can enjoy, and you have more kefir grains that you can either make more kefir with, share with a friend, or both.
Source: Kefirko; Thekitchn; Traditionalcookingschool; Melskitchencafe; Sciencing; Culturesforhealth)
“Experimenting with our Instant Pot this week. Next up, taking @stuphw ‘s advice and making yogurt.” by kaythaney is licensed under CC BY 2.0